Published by in Log House Construction
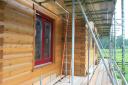

Tomorrow the scaffold finally comes down. A bit nervous, have we forgotten anything? We hope not. Then the house can be seen in all it’s glory for the first time, albeit that the ground floor external wood stain has yet to go on.
With the scaffold out of the way we can then put the 4 metre long sliding windows in place.
Published by in Sedum Roofing
 A last look at the sedum roof to check for any weeds. This is the last time we will ever have the luxury of being able to walk around the outside of the roof on scaffold planks to view how things are. Already each of the 8 or so varities of sedum are growing, some are flowering so we will put these up on the blog over the next few weeks to brighten things up a bit!
Published by in Log House Construction, Sedum Roofing
 Another thing to be fitted before the scaffold came down!
This was quite a complex one. The stainless steel safety rail we made and put on the ridge of the house stuck out above the sedum roof, and with the house being in the middle of a field could have acted as an attraction for lightening. So we discussed the issue with a very helpful lightening conductor designer who told us what to do and what to use. So we have put two conductors, one at each end of the ridge, with one connected to the existing stainless steel safety rail with a further stainless strip. We could not use copper where there was any chance of it contacting the sedum as it would kill off the sedum roof covering we were told. So two neptune like forks at each end of the roof is what we have ended up with, plus 75mm square copper down to the ground where we have put more stainless rods into the ground. How many rods you need depends on the resitivity of the ground, which depends on whether it is sandy, clay or whatever.
Published by in Log House Construction
Theres only a few days to go before the scaffold comes down so we have to make sure we have done all those little things that will be very awkward without it.
Here are a few.
 We have fitted a bracket for a standard aerial and a dish. We have used stainless fittings wherever we are fixing to the Western Red Cedar to avoid steel rusting and staining the wood. So to avoid the steel brackets rusting with time and staining the wood we have put plastic packing behind the brackets. We have used brown co-axial cable and clips to reduce the colour clash with the beautiful wood.

We have also made a 6″ hole for the air inlet for a heat recovery system for the house. Making this hole through an 8″ thick log took an hour or two!

Published by in Log House Design
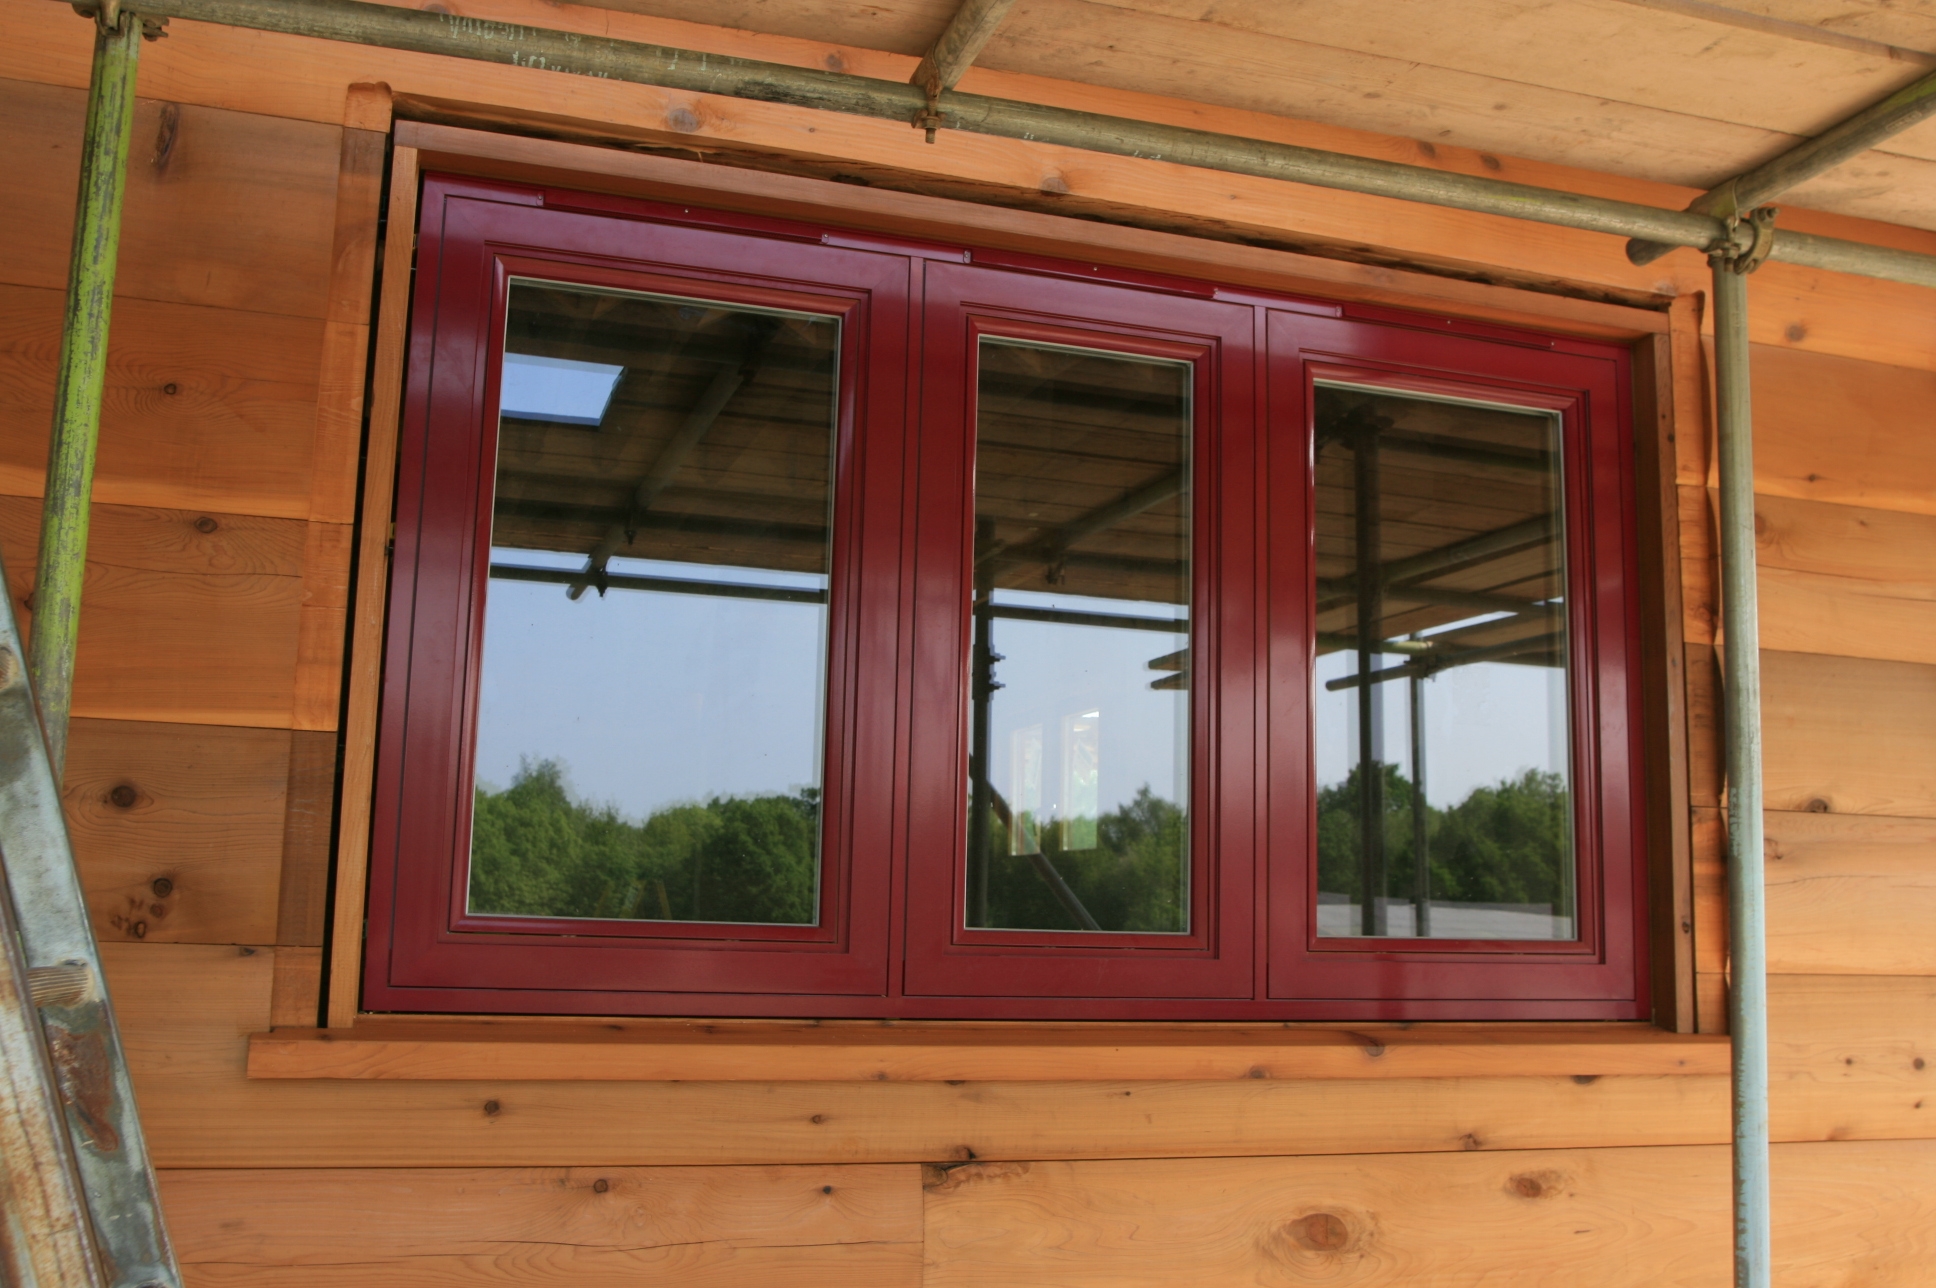
 Now the window headers go in. We have made the angle on the ends the same as the corner dovetails and made the header deeper than the original test window set up. On the bigger windows if we had not done this the headers would have looked a bit mean.
Published by in Sedum Roofing
 We’ve got grass growing in the Sedum so before the scaffold comes down we will have to have a weeding session.
Published by in Log House Design
So since March we have revised the window fitting design, beefing up the vertical architraves and changing the header design so that it too is routed out into the log to get a better seal. Getting all the necessary parts for the 20 plus windows and doors has taken a while at the never ending queue at the joinery shop but at last they have arrived and we can get on with installing all the windows and doors.
 So this is the window in its lining in place with the header and vertical architrave areas machined.
 And here are the vertical architraves in place and the screw plugs awaiting shaving off and touching up with primer.
The header will go in next week!
Published by in Log House Construction
 Now we are really moving forward as the upstairs windows go in. In a few days time we will be working on the ground floor windows and the scaffold can come down.
Published by in Sedum Roofing
 The recent showery weather has been great for the sedum which is settling in and growing well. The sedum roof is already changing colour as we were told it would. It seems to adsorb lots of water, it has to rain quite hard or for an hour or more before anything comes out of the temporary down pipes. It then comes out in a steady trickle over 3-4 hours. Because of this delaying and reduced flow effect this is great for reducing the problems of flash flooding, if only all big buildings had sedum roofs. We are on low lying ground so this will all help.
Published by in Log House Design
Although we have put in most of the electrical conduit into the logs as they were being stacked like lego, in some places we could not get the 1″ plastic conduit in close to a door for a light switch or similar because of steel tensioning rods etc. So the house manufacturers suggest you run cables behind the steel channels that are set in to the ends of the logs using a chain saw, and drill horizontally across to where the switch is to go. You then chop out the log to set the switch box into the log. Here’s how it looks.
 Here’s the end of the wall with the steel channel removed.
 Here’s a close up of the wiring going up into the wall socket and then upwards
 into the conduit we have already placed during the log stack upwards to the next floor.
 And here is the steel channel back in place ready for the door lining and the door to be put in.
In this case we are wiring for an external light on balconies but the principle can be used for a variety of reasons.